In-Depth Photography Tips
for Grand Canyon Rafting Trips
I started guiding river trips in Grand Canyon in 1983 and took pictures on all my trips. As my interest in capturing the experience grew, I increasingly spent more money on film and processing through the years. I quickly realized I had better start concentrating on getting better images because I was throwing away 95% of them. I admired the work of others who had been there before me and studied their photos intensely, often trying to recreate their great images. With no classical training in photography, my knowledge of photographing Grand Canyon rafting trips developed by the doing of the thing.
In 2001, I had the great pleasure of bringing Herb, an 84-year-old river runner and avid photographer, on his 12th journey through the Grand Canyon. On the last night of his trip, Herb proclaimed, “A Grand Canyon river trip is a once in a lifetime expedition that must be experienced as many times as possible.” He had countless photos from his previous trips and was still hungry to make more.
Grand Canyon is one of the most beautiful places to photograph in the world. Rafting Grand Canyon is an opportunity for a different perspective than shooting above the rim. It gives us a chance to capture amazing photos, but we have to know how to navigate the challenges.

Choosing the Right Trip
There are a few different types of trips in the Canyon. On a normal motor or oar trip, the emphasis is to get out of camp early, stop during the day to hike at beautiful places, and then make miles on the river. There is no regard for when the light is going to be best at a certain location. Granted, the Grand Canyon is beautiful no matter what, but the only time you are in the early morning or late afternoon “magic light” is while you are in camp.
If photography is your main goal on a Grand Canyon rafting trip, there are a couple of specialty trips offered each season that are strictly dedicated to photography. These longer photo charter trips (with a featured photography instructor) will provide time for all trip participants to maximize photo opportunities. This means that you will visit places that have great visual options and the right light at the best times. Call us about photography charter trips at 928.526.4575.
Before the Trip
The most common photography question we initially get here at Rivers & Oceans is: Should I bring my best camera on the trip? River runners want to get gorgeous shots on this special journey, but are concerned about damaging or even wrecking their expensive DSLR camera. My advice: Bring the very best camera you have if your objective is to come away with some great images. Why have an excellent camera if you are not going to use it? Yes, it is an expensive piece of gear and would cost a lot to replace, but you purchased it hoping that you would get great images. Use it!
Before you leave for your river trip, be sure to read articles and look at lots of images from Grand Canyon river trips. The best book of photography from the river that I have found is “The Hidden Canyon: A River Journey” by John Blaustein.
During the Trip
Artistic Tips
- Expose for the highlights. Let the shadows go black. This requires either manual shooting, bracketing in programmed mode or underexposing. You will never get the shadows and light area both in proper exposure, there is just too wide a contrast.
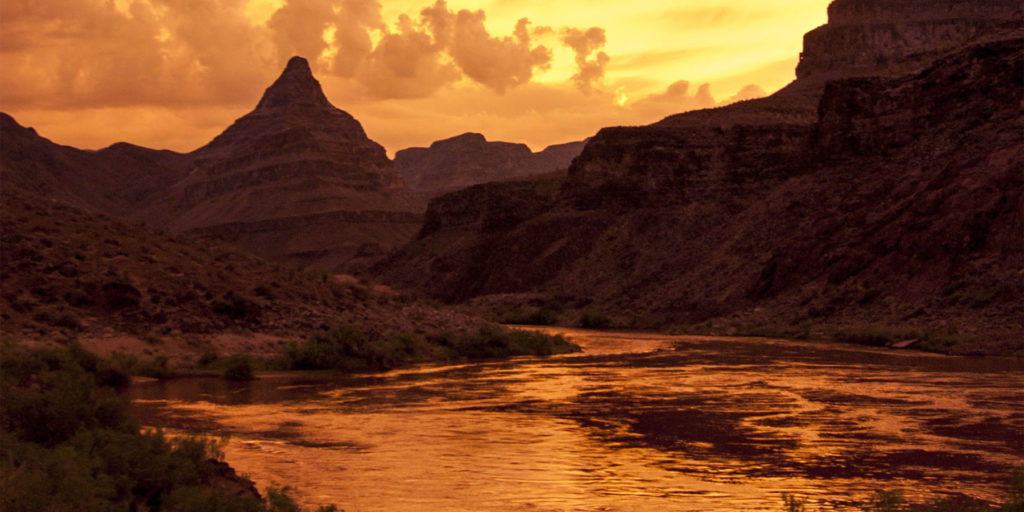
- Cut out the sky. It is usually just a boring blue (which often goes white when photographing he Canyon walls). And, without a top to the Canyon, the mind’s eye makes it look like the walls rise to infinite heights.
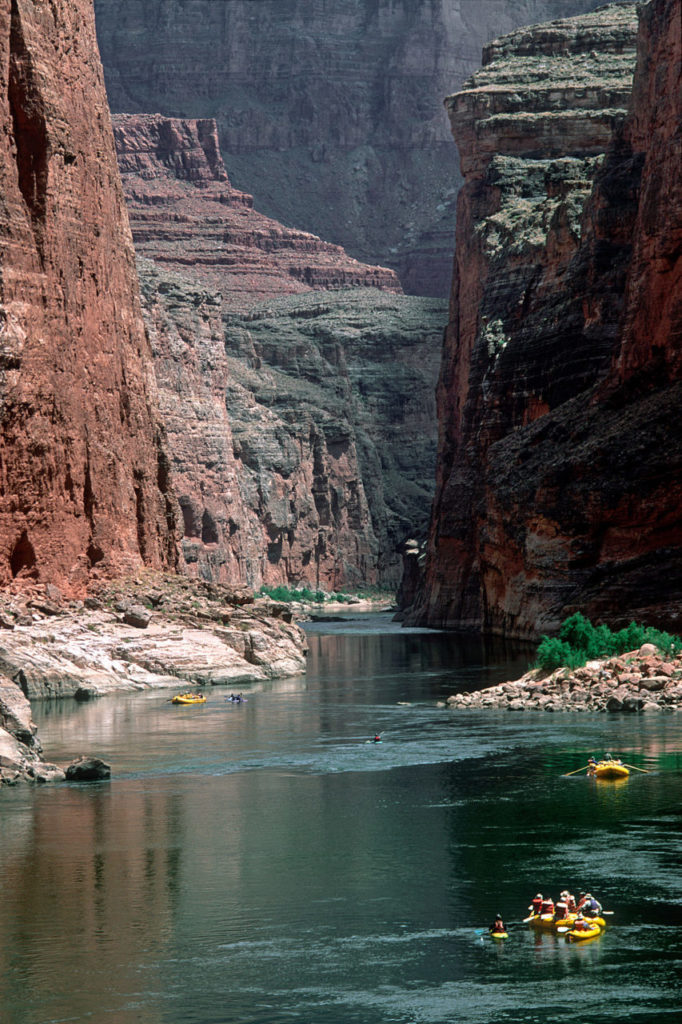
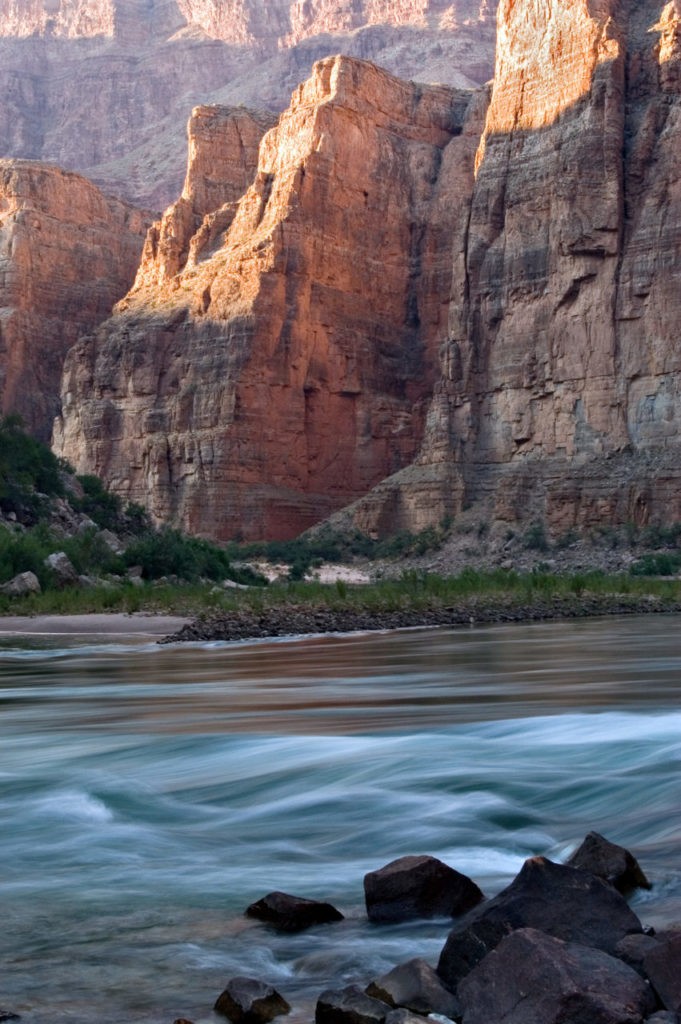
- Vertical (portrait) vs horizontal (landscape). The Canyon with its high walls lends itself well to vertical shots to heighten the image.
- Less is more. Simplify your images. Often squinting at a scene can help you get the overall idea in a simpler manner.
- Remember to be there in the present. Don’t set your photographic expectations too high. Make time for yourself to shoot in blocks. Remember, no one else will know the ones you missed, so go easy on yourself when there are missed photo opportunities. Maybe write about those moments instead. Just enjoy it all.
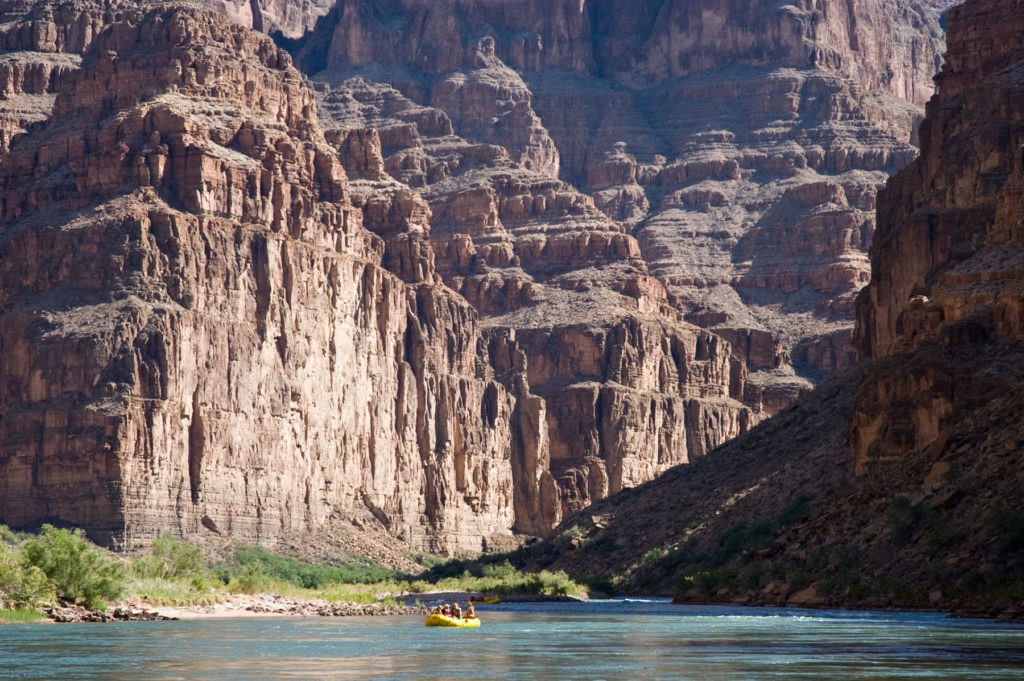
- Crop tight. Look at your edges. Believe me, you don’t want to spend a bunch of time cropping the image in post. Remember, it’s often more important what you choose to leave out of your photo than what you leave in. A metaphor for life.
Portraits
Look to photograph portraits of people in a shadowed area right near the edge of the sunlit area. The Canyon create a virtual soft box, making a nice soft, warm light on the subject with good eye highlights. A light object in front of a black background emphasizes your foreground subject. Simplify the background when shooting portraits.


Tripods
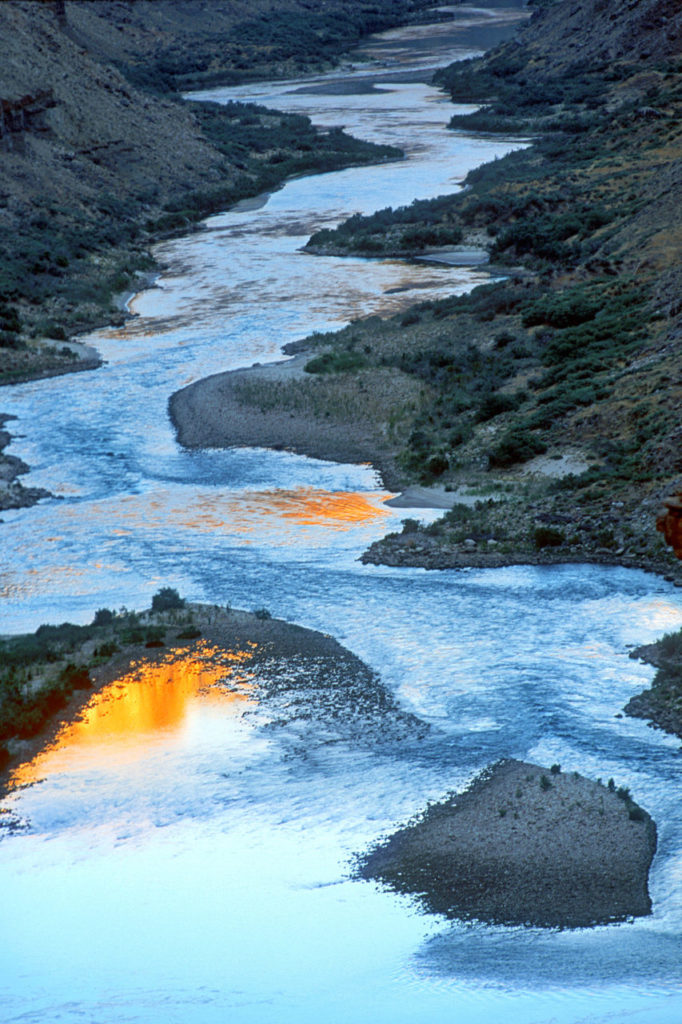
Tripods are best used in camp. They take a while to set up and often weigh too much for daytime hikes from the boat. Besides, you’ll want to keep your hands free on hikes. The advantage of using a tripod is it enables you to slow down the exposure, and slow down your process of taking photos. It gives you the time to slow down and think about “making” carefully crafted compositions instead of quick snapshots. There is a bit of zen in using a tripod. Try and get a little elevation away from camp, looking down on the river. It will reveal a whole new perspective.
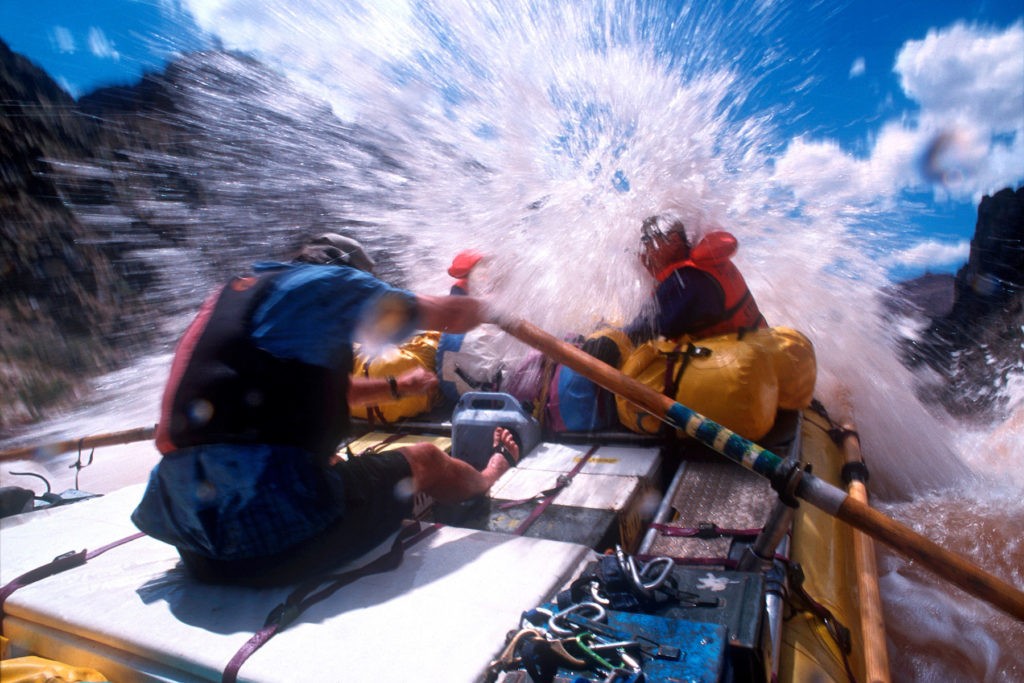
Photographing Rapids
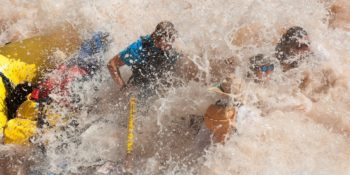
Shoot the run from the bank with exposure settings on manual. When the river is running clear and there is a lot of white water in the shot, the camera’s auto exposure will tend to underexpose the image. Shoot with a telephoto toward the front of the raft to capture the looks on people’s faces. Experiment with slow exposure to get motion while panning a boat in a rapid. Usually you can get this by stopping down the lens (f22), thereby increasing the exposure time.
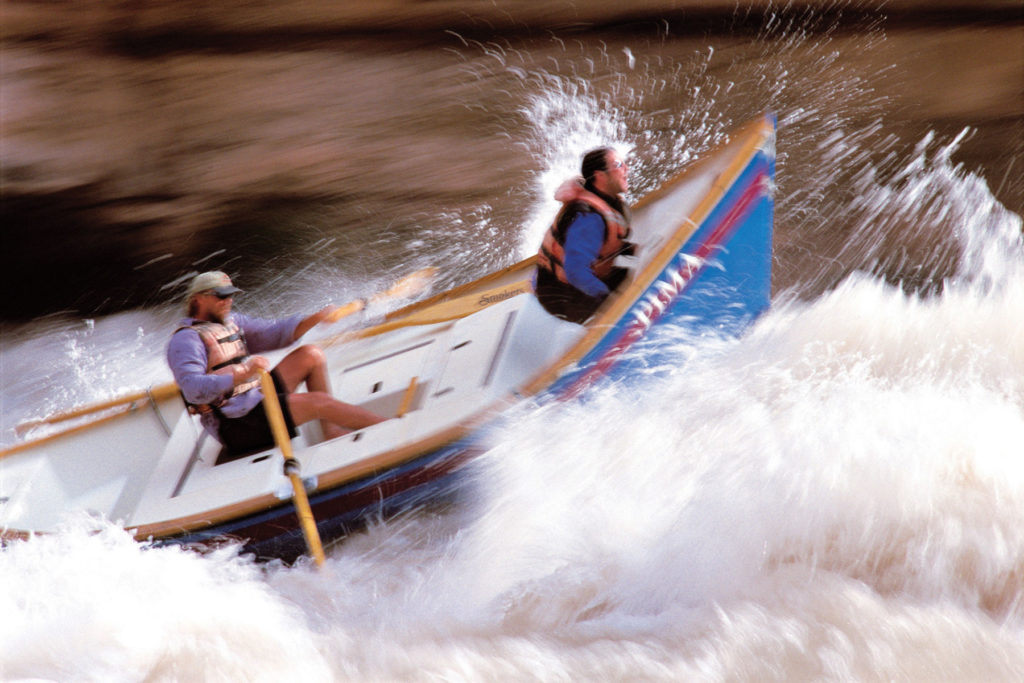

On the boat during the day understand that the situation is dynamic. The boat can’t turn around and go back upstream as if you were on foot. Anticipate situations. Have your camera at the ready. For shooting with a DSLR, most of the distance is on flat water, so there is plenty of opportunity to have the camera out and available with enough time to get it stowed away. In rapids, get that waterproof camera out and get in tight.
Practice Before Your Rafting Trip
Remember that photography is a technical art – you need to balance technical know-how with your aesthetic vision. You must learn all the fundamentals completely before you will truly have the freedom to concentrate on the artistic side. This takes practice, practice, practice. Period. Read your manual. Shoot a lot. Look at other people’s work. Learn from your mistakes. There is no one right way to take a photograph. You will develop your own workflow by just simply doing it. Have your default go to camera settings and stick with that 90% of the time. Use the other 10% to experiment.
“Learn the rules like a pro, so you can break them like an artist.” – Anonymous
Camera Options
- Cameras can be classified as DSLR, Point & Shoot, Waterproof (which includes GoPros), Smart Phone. Remember, the best camera is the one you have with you.
- DSLR – Shoot in RAW if you can.
- Waterproof – This should be your go-to camera during the day.
- Smart Phone – Use the panoramic feature for wide angle shots. Don’t go overboard with making images too wide though – they get distorted.
Practical Photography Tips
- In manual exposure mode, meter off the back of your hand in the light you want for a quick light meter reading. Or the blue sky 90 degrees from the sun
- Turn off your flash. It won’t make a difference for scenery and it will use your batteries more quickly.
Protecting Your Camera
Many people’s greatest fear is getting their camera wet and making it unusable. While that is a valid concern, the greatest harm to cameras on a Grand Canyon rafting trip comes from the sand, not the water. Here are some ways you can protect your investment and avoid potential mishaps.
- If your point & shoot camera has a sliding lens cover these will often jam due to the very fine sand particles that get blown into the delicate mechanism. It’s a bit of work to get one unjammed, with the most common solution to let the lens just stay uncovered.
- DSLR – Change lenses in a protected place. I hunch over, out of the wind, always leaving the camera body pointed toward the ground and doing the lens change as quickly as possible. You want to minimize the amount of time the open camera body is exposed. It’s easy to clean a lens, not so easy to clean the digital sensor in the camera body.
- Never set your non-waterproof camera down without some sort of sand protection – plastic bag, padded case. Otherwise, you ca count on the wind coming up and totally sanding the camera. A trash compactor bag makes a great outer case for your camera bag for added protection.
- If your camera gets totally soaked, immediately shut it off, take out the battery(s) and memory card, open all possible compartments to expose the sensitive electronic insides to air, shake out all the moisture as best you can, layout all the parts on a hot rock or boat deck and let the sun do its work. The key is to do all the above ASAP. Don’t give up on it. I have seen many a camera come back to life after a few hours drying in the intensely hot, Grand Canyon sun.
Recommended Gear
You can purchase camera gear at many different places. If you want lots of choices with some of the highest end products available, B&H Photo is a great resource.
- Extra batteries and memory cards. It is better to bring too many than not enough as they are lightweight and don’t take up much room.
- Pelican case. This hard, durable case gives great water/sand protection.
- Soft dry bag with padding.
- Large carabiner for bag/case to secure it on the boat.
- Large Ziplocs. Bring several to store all your miscellany out of the sand & water.
- Trash compactor bags (thick, durable plastic). The first line of defense against water/sand for your camera bag. For the occasional swim/wade across a pool/creek if your camera case is not waterproof. To set your camera down on the beach at camp. They will last the whole trip without ripping. Available at Home Depot and most grocery stores.
- Soft cotton cloth to wipe lenses.
- High quality air bulb/blower (Giottos AA1900 Rocket Air Blaster) to remove fine sand and dust. Better to blow off the coarse particles initially and then use the soft cloth to get the dust/smudges.


- Lightweight tripod. If you can afford it, a carbon fiber set of legs is the lightest and most stable. A ball head gives you lots of versatility.
- Circular Polarizer (allows autofocus to still work) to deepen contrast and color saturation as well as taking out glare from water.
- Split neutral density filter. It will help equalize the sky or bright areas with the shadows.
- Small back or front pack designed for carrying camera for easy reach while keeping your hands free.
Editing Photos After the Trip
The advantage of shooting digital photos is that you can shoot a bunch – and not have to pay for all the film and developing.
The disadvantage of shooting digital photos is that you can shoot a bunch – making the editing process that much more difficult and lengthy.
My advice is to shoot a lot with the understanding that editing is going to be a grind. After you do your first edit of images, step away from it for a while and come back with fresh eyes. When you distance yourself further from the moment you took the photo and the expectation you had while taking it, you will see it with new eyes, for better or for worse.
Be ruthless in your editing process. The fun part will be the accolades you get after the trip when you can finally share the fruits of your hard labor. Remember, your photo must speak on its own. When someone views the image, you will probably not be there to describe it – how hot it was, the eagle that is the little dot in the corner of the frame, the smell of the bacon cooking, the sound of the rapid. Does the photo tell the story on its own? When you have completed your edit (the hardest part of shooting in the Canyon) you will be fortunate to come away with just a few great images.
Believe me. That is why what Herb said is so true, “…a once in a lifetime expedition that must be experienced as many times as possible.”
All images are by the author
Are you ready for adventure? We’ve been your complete source for Grand Canyon rafting since 1987. We work with all the outfitters and we know all the trips. If you’d like more information on Grand Canyon rafting, please give us a call at (928) 526-4575 or send us an email – we’ll guide you through!

Pack & Plan Your Rafting Adventure
Articles about packing for your Grand Canyon rafting tour. See All Our Gear Posts
Our Favorite Books for Grand Canyon Rafting Trips
Here are some of our favorite Grand Canyon rafting books for those interested rafting the Colorado River within Grand Canyon. This post just scratches the surface of the best writing on the Colorado River through Grand Canyon.
Keep Reading > Our Favorite Books for Grand Canyon Rafting Trips
Best Shoes and Sandals for Rafting, Camping & Hiking Trips
Best Shoes and Sandals Grand Canyon Rafting & Hiking Trips We receive many questions about the best footwear for rafting trips. The overwhelming number of rafting shoes and sandals on…
Keep Reading > Best Shoes and Sandals for Rafting, Camping & Hiking Trips
What to Wear White Water Rafting (A Guide’s Perspective)
A supplemental guide to your river trip packing list. Learn some of our favorite packing and river clothing tricks.
Keep Reading > What to Wear White Water Rafting (A Guide’s Perspective)

